Ties To The Past – 1999

A good friend acquired a stack of quilt tops that had been pieced either by her grandmother or great aunt in the 1940’s.  She offered me my pick of the quilt tops.  They were all wonderful and it was really difficult to take one for myself.  But how could I resist.  I picked this bow tie design, pieced all in

scraps from the 1940’s and before.  I layered it and hand quilted a flower in each white center and a 1/4″ inside the other pieces.  As I quilted this I felt

such a kinship to the women who had pieced this quilt so many years ago and utilized every piece of fabric they could put their hands on.  This was and still is my favorite quilt that I quilted.  At some point while I was quilting, I realized that I couldn’t keep such a treasure for myself and I gave it back to my friend as a gift.

On the back of the quilt, I labeled the names of my friend’s grandmother and great aunt and appliqued two flowers and three butterflies.

Here is my cat, Boo, catching a photo op.


A Minner And A Weight – 1997

This is the first quilt I designed completely and the first quilt I free motion quilted.  I had modified patterns or put my own spin on pattern arrangements before but never taken the leap to designing my own quilt.

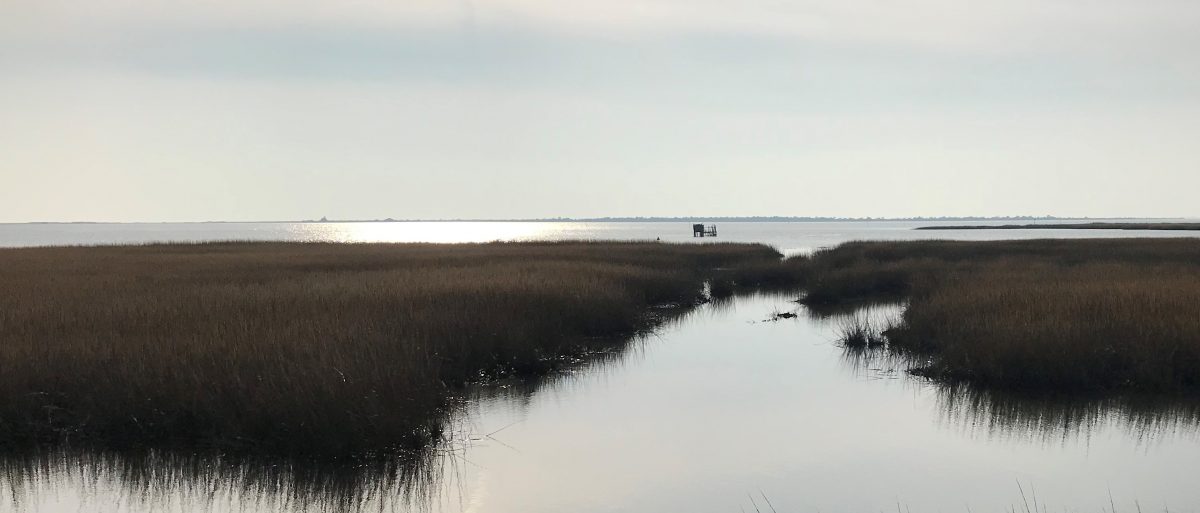
This quilt was inspired by a fun vacation to Ocracoke Island, NC and very successful flounder catching.  We enjoyed ourselves so much that I wanted to document the experience in a quilt for my husband for Christmas that year.  I started this quilt in October 1997 after we returned from Ocracoke and finished it in December 1997 in time for Christmas.  Not my usual M.O. which is to start a quilt and add it to my stash of UFO’s.  There was a lot of late night and weekend sewing when my husband wasn’t home.

I named this quilt “A Minner (minnow) and A Weight” because after we had several unsuccessful days of fishing, my husband finally asked a local fisherman what he was using as bait.  He said “all you need is a minner and a weight.”  After having tried all the things the bait shop recommended, we put a weight on our line, baited our hooks with minnows and reeled the flounder in.  Sometimes simpler is better.  My husband was beyond surprised with this quilt and it remained up there as one of his favorite gifts.

To make this quilt, I took 2 yards of the blue water fabric and folded it in thirds lengthwise and then in sixths crosswise and pressed the folds into the fabric.  I Googled flounder pictures and drew a simplified version in a size to fit the sections that I had pressed into the fabric.  I bought various dotted fabrics for the fish and striped fabrics for the fins and tails.  To save time, I pressed under the seam allowances on the applique pieces and straight stitched them to the background close to the edge, first stitching

down the outer fins.  The tails were sewn to the body of the flounders as well as the small fins before they were appliqued over the outer fins.  I never did put eyes on the flounder and that does look kind of weird as I look at this picture.  Maybe I should add them now.

I wanted the quilt to be a little more personal to our trip to Ocracoke, so I designed and appliqued a scene where we are fishing out of our boat.

This was a real stretch for me but I was motivated to do it so I forged on.  I put a bend on my fishing rod showing that I had a fish on my line.

This quilt is machine pieced, machine appliqued and hand and machine quilted.  I hand quilted around some of the clouds in the sky, around all the applique pieces, 1/4″ inside each flounder, and lines inside each flounder.   There are 2 flounders I did cross hatch quilting on at the bottom of the

quilt.  This idea came to me when I was almost done quilting and remembered eating whole flounder at a seafood restaurant in Buxton, NC where they cross-hatch scored the flounder before cooking it.  I wished I had thought of that before and quilted all the flounder that way (not the first time I thought of a better way to do something after the fact).

I took a free motion machine quilting class in March of 1998 and did a free motion meander quilting in the background after that class.  It scared me to pieces to put this finished quilt under my sewing machine needle and free motion quilt, but it turned out okay and the background needed something.  Sometimes you just have to hold your nose and jump in!


Some Bunny Loves You – 1998

I was going to be a Great Auntie to twins!  My nephew and his wife were expecting.  It was so exciting.  Naturally I went to work looking for the perfect quilt to make.  I found an adorable bunny pattern that I loved but I couldn’t believe how many pieces there were – or so it seemed it at the time.

This wasn’t a paper pieced pattern, so every little piece had to be cut out separately.  And, of course, I wanted to make each bunny different.  These quilts were machine pieced and mostly machine quilted.  I hand quilted a heart in each of the small squares.

I wish I could tell you what book I got this pattern from because they were all adorable.  It could have been loaned or donated it to a guild book sale.  I’ll keep looking.


Quilted Pink – 1997

This quilt is a queen size bed quilt measuring 79″ x 88″.  It is machine pieced and hand quilted.

A friend gave me a piece of fabric, I think it was the turquoise floral, and from there I matched it up with fabrics in my stash and started making nine patches.  I decided to piece them together in a bar design with large pieces of plain fabric in between the bars and in the borders.


Because there was so much plain space to be quilted, I couldn’t decide on one design.  So, I decided to quilt a variety of different quilt designs in each area.  Here is some of the quilting.


I found these designs in various books that published just quilting patterns.  In one border, I quilted my name and the year I made the quilt.


I started this quilt in March 1997 and completed it in December 1997.  I can’t believe I got all that hand quilting done in that amount of time.  This quilt was displayed in the 1998 Mooresville Centerpiece Quilters Guild show.


Kitty Love – 1997

My niece was having her first baby so I went looking for a quilt pattern to make for her.

Since I’m a cat lover, I found the perfect pattern in “Quilts For Babies” by Cheryl Fall.

We knew she was having a girl, so pink was the color choice.  The cats are fused onto each block and then machine stitched down.  I used a satin stitch for the applique and for some of the detail.  The face details are hand embroidered.

This quilt is hand and machine quilted.  I hand quilted around the appliqued cats and machine quilted in the ditch around the inside sashings and around the border.  To finish the quilt, I added a ruffle using the same fabric as the cat appliques.


Lone Star – 1997

Well, I decided to make another lone star quilt, only this time with a border.  I floated the star in the middle of the quilt.

I had seen a another border done using points similar to those in the star in the border centers and corners.  The only problem was that no matter how I did the math, I couldn’t get the border to piece evenly.  So, determined to have the same effect, I appliqued the pieces down.  Voila!  Where there’s a will there’s a way.

I hand quilted this quilt in the ditch around each diamond in the star and then did various feather designs on the quilt top and the border.

I love feather quilt designs and enjoy quilting them.  You can’t go wrong with something that pretty.

A Cabin With A View – 1996

I absolutely loved this wall hanging when I saw it in a magazine ad and had to get the book with the pattern.  The book is “Buttonhole Stitch Applique” by Jean Wells.  I loved the folk look of the patterns.

The background is pieced, then all the appliques are fused down and buttonhole stitched in place.  Some of the pieces are machine appliqued down, but I found this was a good portable piece to take on vacations, etc., so I did a lot of hand buttonhole stitching as well.  It is machine and hand quilted.  I added two cats to the cabin scene so my cats wouldn’t feel left out.

Leftovers – 1996

The pattern for this quilt is a traditional Dresden Plate.  I made the “plates” by mostly using fabrics in my growing stash.  They were machine pieced, then a circle was hand appliqued in the center of each plate.  Once the plates

were completed, they were appliqued down onto a light green background.  I then spent a lot of time trying to find just the right color for the sashing and that peachy color just seemed to tie everything together.  You can see the

colors better in this detail picture.  I wasn’t trying to match anything in my house when I made this quilt, just to match the colors in the quilt itself.  This quilt is a large queen, measuring 97″ square.  I hand quilted it in the ditch between each plate fabric, 1/4″ around the plate and 1/4″ inside each block, with a design in each block corner.  In the sashings, I quilted a rose with feathers and mimicked the rose in the center circle of each plate and in the four patches that join the sashings.

This quilt was displayed in the 1998 Mooresville Centerpiece Quilters Guild show.

Sampler Wall Hanging – 1996

I made these quilt blocks in 1986 during my “learning to quilt” phase.  Actually, I’m still in that phase.  I don’t think we ever stop learning – or, at least, I hope not.  The blocks in this wall hanging are each 12″ square and are Grandmother’s Fan, Maple Leaf, Shoo Fly and Basket.  I found the

patterns for these blocks in Georgia Bonesteel’s book, “Lap Quilting With Georgia Bonesteel” and hungry to learn everything I could, I followed directions to make these blocks and to quilt them individually prior to putting together the quilt top.  This is the book I used, and you can see I tried to wear it out.

In 1996 I got tired of finding a place for these blocks every time I straightened my sewing room (which wasn’t too often) and decided to put them together using Georgia Bonesteel’s method .  The blocks were quilted individually, and I must say they were a lot easier to quilt that way.  The sashing then had to be layered and quilted separately.  I combined the blocks sewing the top fabric of the sashing just to the top fabric of the quilt block to join the top two blocks, then the bottom two blocks, and finally another strip of sashing to join the top blocks to the bottom.  To do this, you had to make sure and leave enough fabric on all your pieces for the 1/4″ seam and room to maneuver.  Next, the battings had to be evenly butted to each other and were loosely slip stitched together.  Then the backing had to be connected by turning under 1/4″ on one side, placed over the opposite fabric slip stitched closed.

Even though the quilting was initially a lot easier on a smaller area, the finishing was much more complicated.  In all fairness, this method was meant for a larger quilt.  I don’t think a quilt the size of this wall hanging needed to have been done this way.  That said, for myself, I would rather piece the entire quilt top, baste it, and then quilt it to save the trouble of putting the individual parts together at the end.